
|
|

|

|
Example 1: Extract neural states from spike count vectors
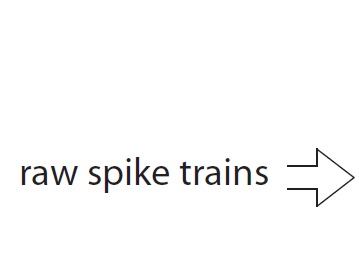
This video walks through the steps of inputting raw spike trains into DimReduce, binning the spike trains, performing dimensionality reduction, and automatically uploading the extracted neural states for visualization in DataHigh.
Detailed step-by-step tutorial
The same tutorial can be found in the DataHigh User Guide .pdf in the main folder of the DataHigh software package. It corresponds to ex1_dimreduce.m in /DataHigh/examples/.
1. |
Navigate to the examples folder in the main DataHigh directory. Enter ex1_dimreduce into the Matlab command console to input raw spike trains into DimReduce. The example dataset contains seven different experimental conditions. Each condition has 30 trials, and each trial has spike trains from 61 neurons. Each spike train is 400ms long and binned at 1ms resolution. |
2. |
The DimReduce figure will pop up. The top right corner has Next Step instructions, so that the user can walk through the steps of performing dimensionality reduction. Note that clicking Next Step will move the large red number to the next location where a choice is needed by the user. Each option also has a ? button nearby to provide more information about that step. |
3. |
For this example dataset, in the time bin width box, enter 400ms. This will change the "Type" to "States." For neural states, you should choose the maximally allowed time bin width, which is the length of the shortest trial. This ensures one bin is used per trial---longer trials are truncated. If you need to align your data to a stimulus event (such as a go cue), align the data first before inputting it into DimReduce. Also, to avoid possible confusion, ensure that each trial has the same length. |
4. |
For the mean spikes/sec threshold, enter 1.0 spike/sec. DataHigh removes 4 neurons from the analyses. Neurons with firing rates less than 1 spike/sec can sometimes be problematic, so we leave them out. |
5. |
Under Method, choose "FA" for Factor Analysis. For neural states, we suggest FA because it allows each neuron to have a different amount of Poisson-like spiking variability. Since FA uses an iterative algorithm to fit the model parameters, it can take seconds to minutes to complete cross-validation. |
6. |
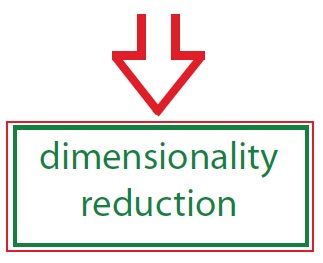
For the Candidate dimensionality set, input "[1:15 20 30 40 50]". This input is in Matlab vector notation. Note that the terms “dimensionality” and “number of latent variables” are interchangeable, and by choosing a candidate dimensionality set we are trying to find how many latent variables best explain the data. For this range, DimReduce will perform cross-validation on candidate dimensionalities 1 through 15, 20, 30, 40, and 50. Trying all possible candidate dimensionalities (1 through 57) is computationally expensive, and typically unnecessary for visualization purposes, so we sample from the set of possible candidate dimensionalities. |
7. |
Click Perform cross-validation to perform cross-validation on the set of candidate dimensionalities. Cross-validation tells us how many dimensions are needed to describe the data. The dataset is split into three folds. Factor analysis trains its parameters on two of the folds, and then tests on the remaining fold. This is done for each candidate dimensionality. A progress bar will pop up. Wait until it is completed. |
8. |
Cross-validation has been performed, and we can view metrics to select an optimal dimensionality for visualization. Look at the LL metric by clicking the LL button in Dimensionality Plots. LL plots the cross-validated log-likelihood versus the candidate dimensionality. For this dataset, the log-likelihood has its peak at a dimensionality of 6, denoted by the star. |
9. |
Click the Proj button to plot the first two factors. We see some clustering of the datapoints (which makes sense, since the data are from different experimental conditions, and some neurons are more active for some conditions than for other conditions). |
10. |
Slide the Select dimensionality scrollbar until it shows 6. Typically, you should select the optimal dimensionality as determined by the cross-validated log-likelihood. |
11. |
Click Perform dim reduction. DimReduce will perform dimensionality reduction for the chosen number of dimensions (i.e., factors). The data's dimensionality is reduced from 57 dimensions (i.e., neurons) to 6 latent dimensions. A PostDimReduce figure pops up. This figure allows you to make a more informed decision about your dimensionality selection. If the selected dimensionality is not appropriate, you can close the PostDimReduce figure to go back to the original DimReduce figure. |
12. |
In the PostDimReduce figure, click Upload to DataHigh. The main DataHigh interface pops up. You may change the colors of the clusters by clicking the Analysis Tools tab in the Toolbox and then click the Update Colors button. In the UpdateColors figure, change the Epoch Colors field of the condition "reach1" from [0 0 1] to [1 0.5 0]. This will change the neural states of that condition from blue to orange. Click Upload to DataHigh to upload the changes. |
Visualize neural states in DataHigh
Return to Tutorial Videos
Return to the DataHigh main page